A nature filled place with features ranging from trees, to birds, to insects, to waterfalls and ponds, many people would enjoy to live in a forest environment, yet these areas are usually not friendly for human inhabitation. One can bring a forest home and enjoy many of its beautiful natural features, by planting it.
A technique pioneered by Japanese botanist, Akira Miyawaki helps to build a dense, native forest in a short period of time.
In the technique, trees are grown close together in an area of at least 100sqm with access to at least 8 hours of sunlight a day. Trees grow in a multi-layered fashion such that sunlight does not reach the lower layers of the forest, therefore the forest grows rapidly upright instead of branching.
The method ensures that forests grow 10 times faster and 30 times denser than the usual native forests.
Here is a guide on how to grow a forest at home using the Miyawaki method.
Conduct a soil survey
Collect soil samples from the area and test for pH, organic carbon, nitrogen, texture, macro and micro-organisms. This will help you to determine the quantity of materials that you need to add to the soil.
Materials to use for nourishing the soil include;
- Mulching material like straw, pine and others.
- Material for water retention like sugarcane bagasse.
- Liquid soil microbiology enhancer.
- Compost or rotted animal manure.
Select tree species for planting
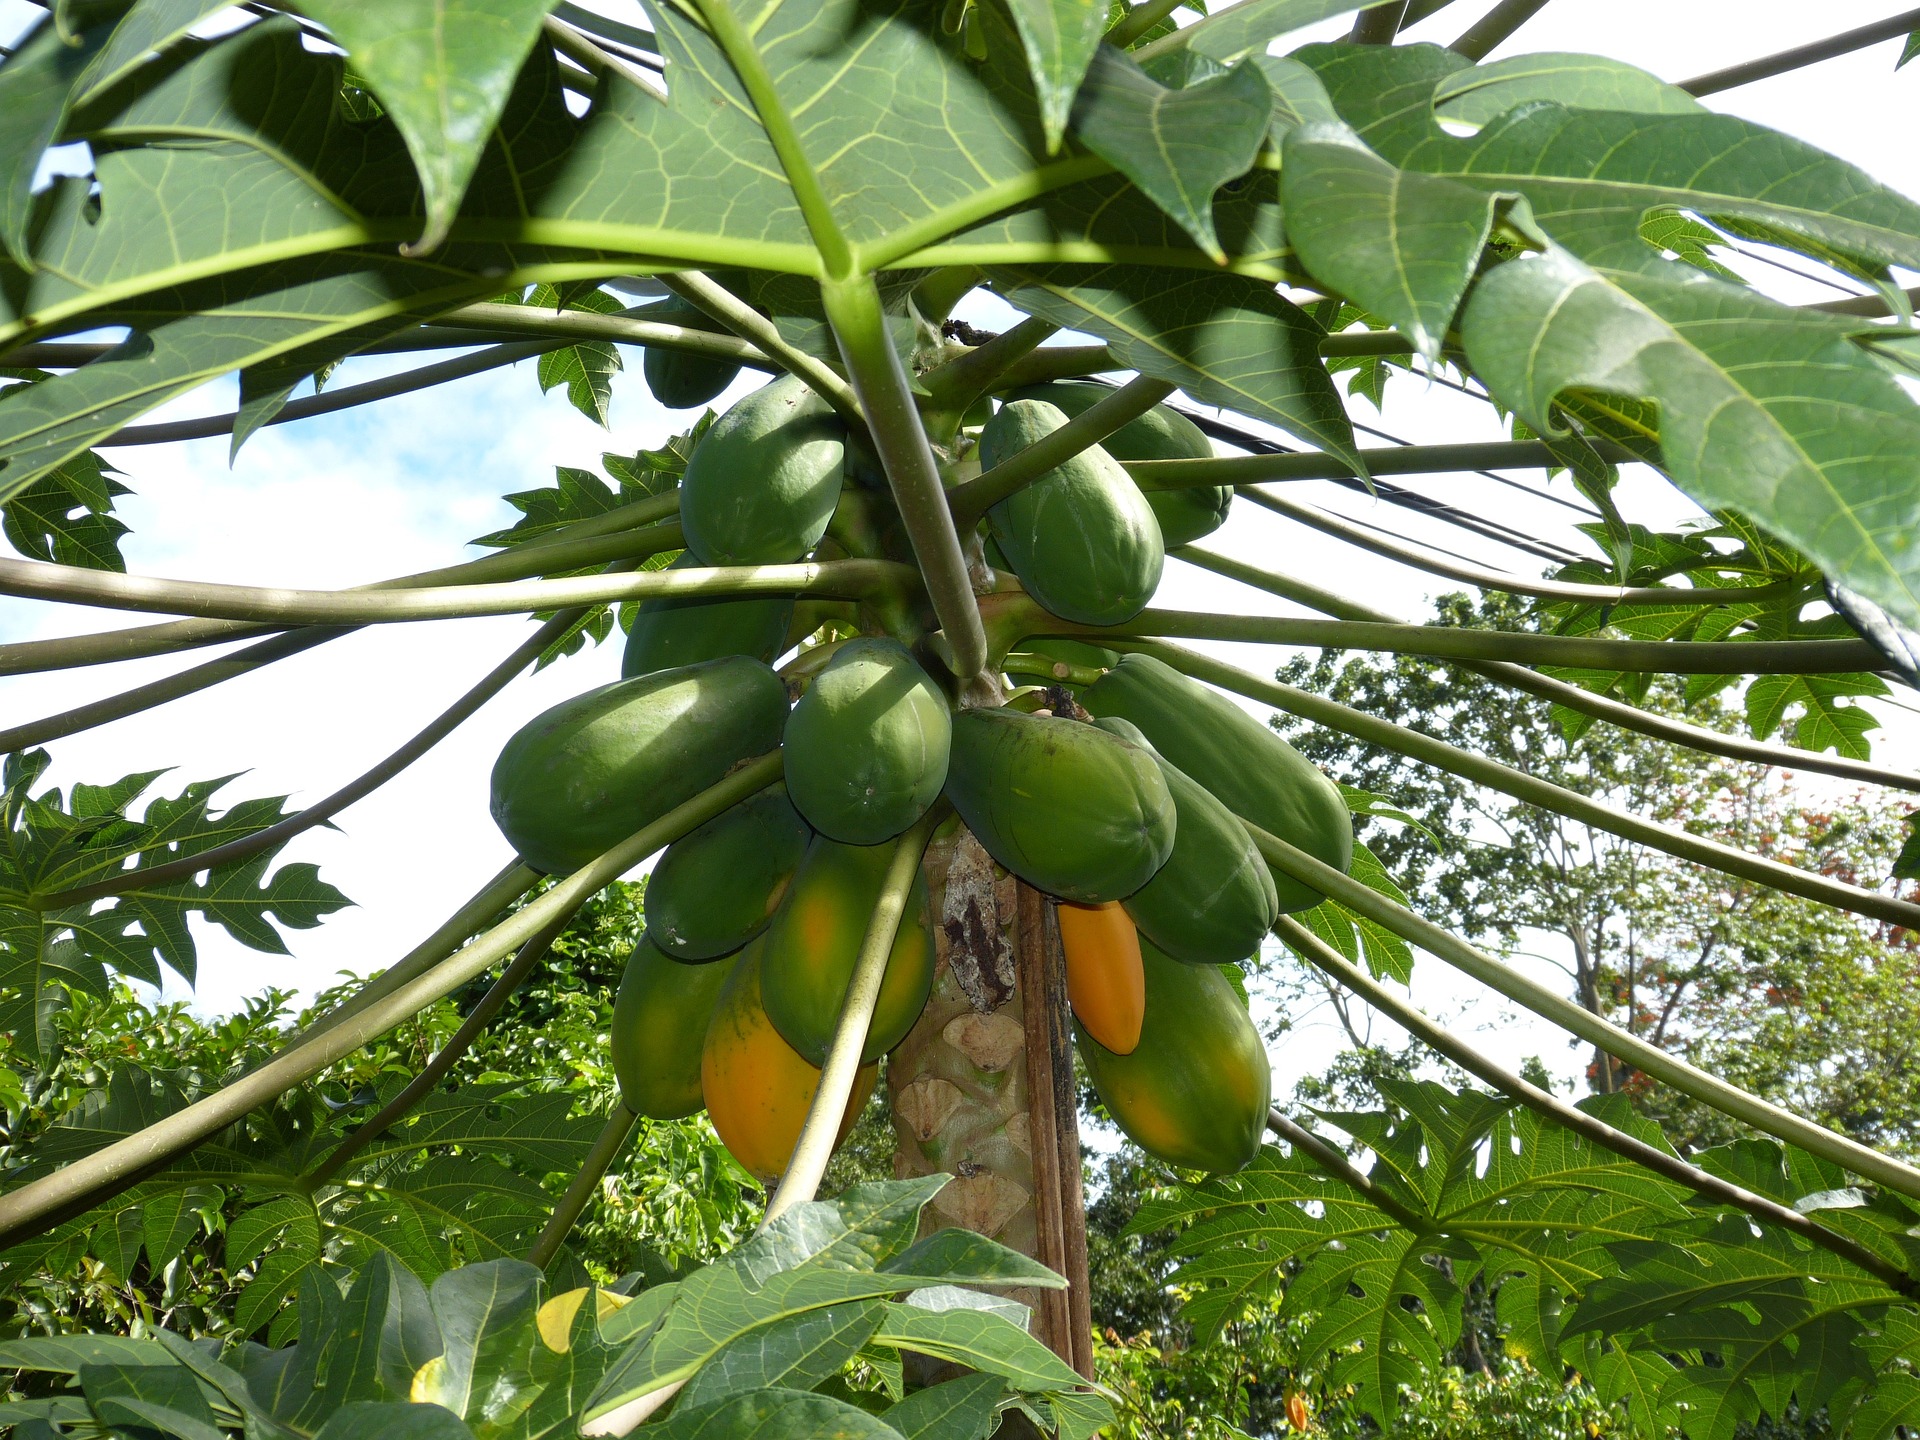
Identify and make a write up of native tree species growing in your area, their type (deciduous or evergreen) and maximum height.
Select as many species as you can to increase diversity and ensure that species selected grow to different levels.
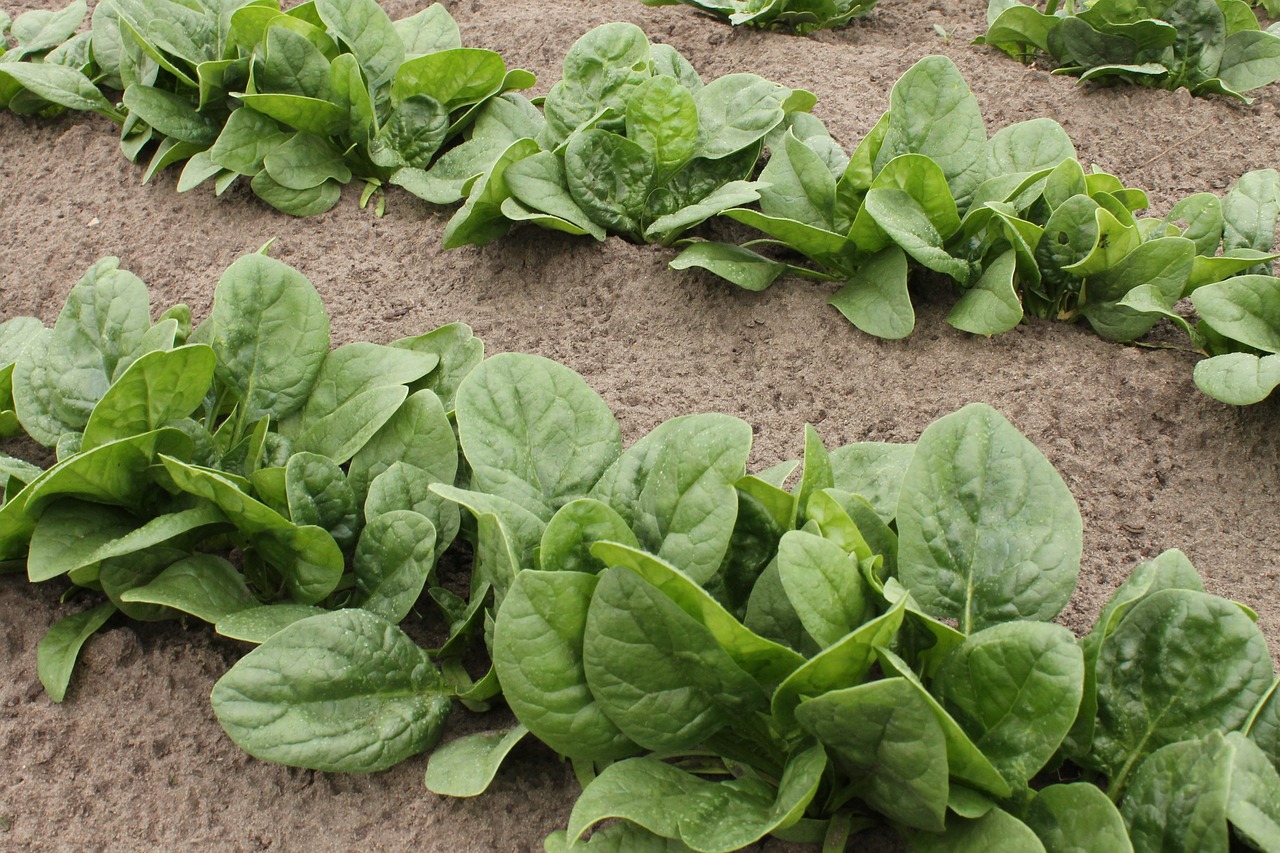
Sapling procurement
Check for availability of native seedling saplings at a reputable nursery and their sapling height, which should be between 60-80cm. Procure healthy seedlings in good shape, with no visible symptoms of disease.
Designing the forest
The design of the forest should be in such a way that different tree species, that grow at different height levels are grouped together to form dense vegetation. Also ensure that the trees are not in a pattern, but rather staggered.
Soil preparation
Till the area and remove existing vegetation and weeds to avoid competition for moisture and nutrients with plants. Also remove large stones and boulders from the site.
Install a hosepipe with a shower to facilitate watering.
Plant trees
Plant about 3-5 saplings per square meter with spacing of about 60cm between saplings. In each square meter, try to group plants that grow to different levels; shrub, shrub tree, tree and canopy and do not plant trees of the same species next to each other. Tie each tree to a support stick using a jute string so that they do not bend or droop. Water and apply a thick layer of mulch to retain moisture.
Look after the forest for three years
Water young trees once a day using hose pipe on days when it does not rain, while ensuring proper drainage in the forest so that plant roots are not killed.
Ensure that the forest is free of weeds for the first three years so that trees do not have to compete with weeds for moisture and nutrients. Mulching will help control weed growth. After trees have become established, there is no more need for weeding as the forest will naturally keep out the weeds.
Do not prune the forest at any one time as the trees may become weaker.
Do not use artificial chemicals like pesticides to eliminate pests. As the forest grows, it develops its own mechanisms of eliminating pests.
After three years, no more maintenance is required by the forest, therefore you should leave it to facilitate its own growth.